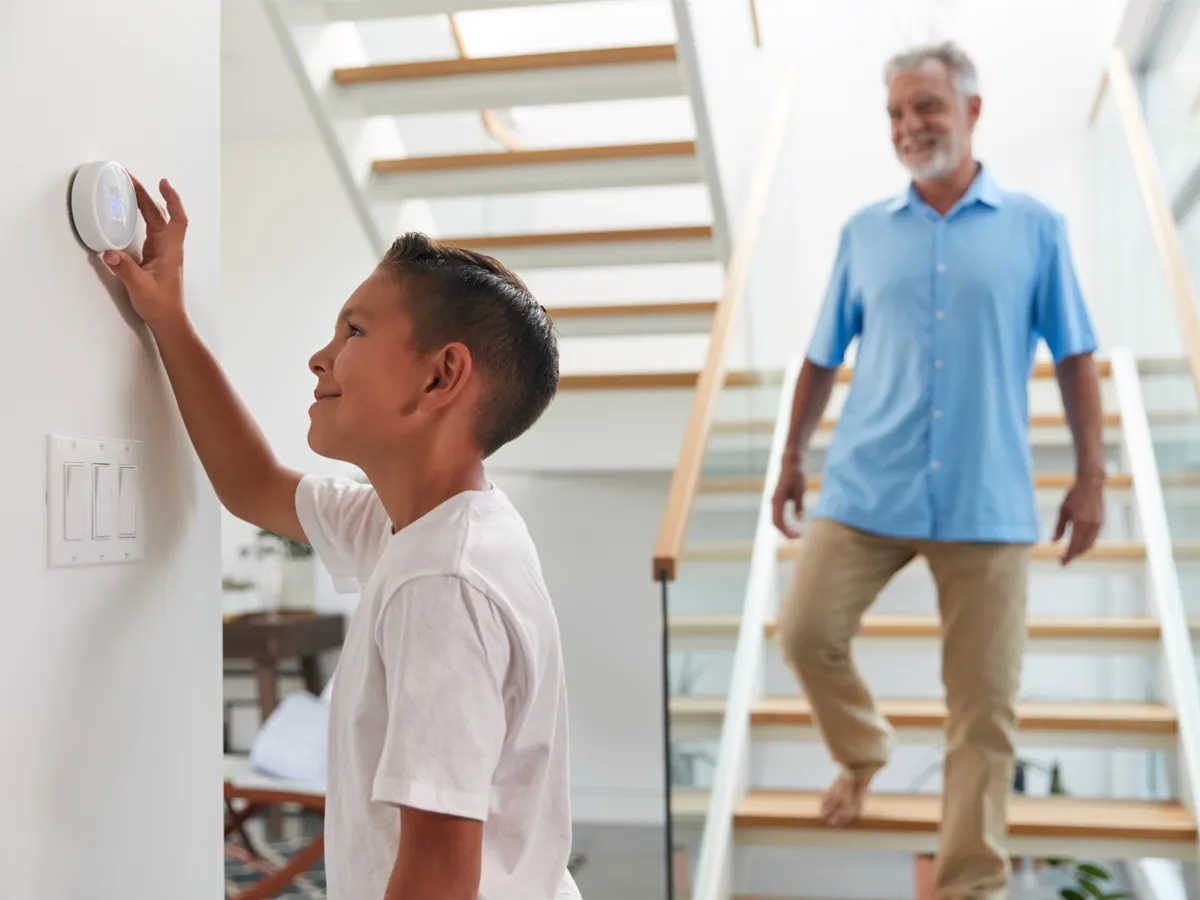
As technology continually evolves, many of us find joy in integrating smart solutions into our everyday lives. One area where technology can enhance comfort and efficiency is home heating and cooling. Installing a smart thermostat is a step towards transforming your home environment.
Whether you are a seasoned DIY enthusiast or just starting your tech journey, this guide aims to ease you through the installation process. Remember, it's about progress, not perfection. Feel free to make mistakes and learn along the way.
Why Consider a Smart Thermostat?
A smart thermostat goes beyond mere temperature control. It adapts to your lifestyle, learns your preferences, and helps manage energy use more efficiently. According to a study by the Environmental Protection Agency, homeowners can save an average of 10-12% on heating and 15% on cooling costs with smart thermostats.
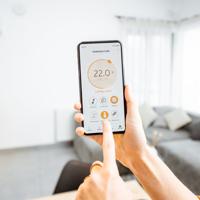
These devices allow remote control via mobile apps, scheduling, and even have the ability to work with voice assistants like Alexa and Google Assistant. With this technology, you’re not just adjusting temperatures; you're making choices that could potentially lead to significant energy savings over time.
Preparation Before Installation
Before diving into installation, here are a few steps to prepare:
Choose the Right Thermostat: Not all smart thermostats are compatible with every heating and cooling system. Check if yours supports the thermostat you intend to purchase. Popular options include brands like Nest, Ecobee, and Honeywell. To learn more about choosing the best option for your needs, see our guide on the Best Smart Thermostats of 2023.
Read the Manual: It's wise to familiarize yourself with the instructions provided by the manufacturer. Each brand and model may have unique features or requirements.
Gather Tools: Usually, a screwdriver, pliers, and a drill will suffice. But double-check your thermostat’s installation guide for any specific needs.
Switch Off Power: Safety first—turn off the power to your HVAC system at the breaker panel to avoid electrical hazards.
Step-by-Step Installation
Here's a general installation procedure:
Step 1: Remove the Old Thermostat
- Before you start, take a photo of your current wiring setup for reference.
- Carefully unscrew the old thermostat, ensuring you label the wires as you detach them. Labels often correspond to letters on the terminal board.
Step 2: Mount the New Thermostat Base
- Align the new base on the wall, using the built-in bubble level if available, then mark where screws will go.
- Drill holes if necessary, and use wall anchors for stability in drywall.
- Thread wires through the base's center and secure it to the wall.
Step 3: Connect the Wires
- Refer to your photo and the new thermostat’s guide to connect each wire correctly.
- Push the wires firmly into the corresponding terminal slots.
- Naturally, the color may correspond to function (e.g., red for power, white for heat), but follow your guide precisely as color codes can vary.
Step 4: Attach the Thermostat Display
- Once the wiring is complete, snap the display onto the base. Ensure it's secure before proceeding.
Step 5: Restore Power and Configure
- Turn the power back on at the breaker.
- Follow the on-screen setup instructions on the thermostat. This typically includes setting your home Wi-Fi, preferences for scheduling, and connecting to any smart home systems. Programming Your Smart Thermostat
Step 6: Test the Thermostat
- Confirm that the thermostat is controlling your HVAC system correctly. Adjust temperatures and scheduling features, checking that everything responds as expected.
After Installation: Tips & Considerations
- Regular Updates: Keep your thermostat firmware up-to-date to take advantage of new features and security enhancements.
- Review Energy Reports: Many smart thermostats provide insights into energy usage that help optimize settings for cost-effectiveness.
- Experiment with Features: Explore different settings such as geofencing, which adjusts the temperature based on your phone's location settings.
Installing a smart thermostat can be a rewarding project that combines practicality with a touch of tech innovation. It might take a little effort to get it just right, but the payoff in increased comfort and potential energy savings is worth the journey.
For a deeper dive, consider exploring community forums like Reddit’s Home Automation subreddit or manufacturer-specific resources for insights and advice from other users who have made this switch.
If you encounter complexities beyond your comfort level, consulting a professional installer ensures peace of mind and system compatibility. Your smart home journey is personal, but you're not alone.
Enjoy the seamless integration of technology into your life's thermostat!